FAQ

How to choose

Order a sample – www.cornicestore.co.uk


All our cornices are displayed by period, start with the period/style/year of the property.

Choose a cornice for your ceiling height. Displayed on the product pages under ‘Guide’ please find recommended the ceiling height for each cornice.

Bedrooms traditionally tend to be more plain however it really is down to personal choice.

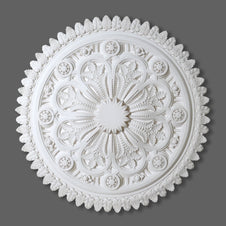
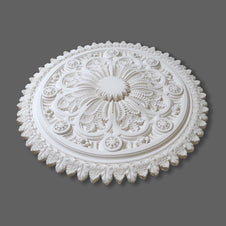
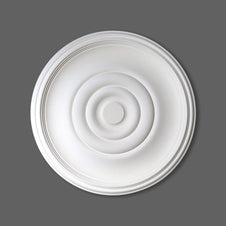
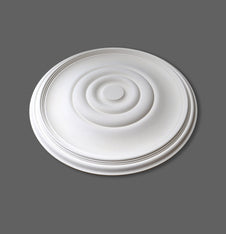
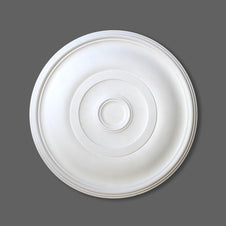
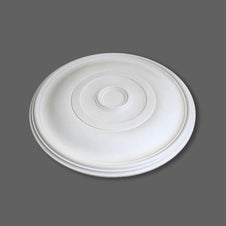
The size of Ceiling rose/centre relates to the size and height of the room You can find the recommended ceiling height on all our product pages.

How to measure

The light compartment can simply sit just below most fittings and generally look fine (even when larger) when fitted directly to the surface of the Ceiling Rose.

Measure the perimeter of a room include all wall areas where you would like the cornice to be installed. Once you have the total linear meterage +15% for wastage.

Deliveries

All our products are made to order, our lead time is 7-14 days.

When your order is ready we will email and confirm a delivery/collection date.

All our deliveries are approx. between 7am-2pm traffic dependent.

Someone will be responsible for signing/accepting the delivery to kerbside within the next 7-14 days, if not it may be left at kerbside or a charge for redelivery.

It is not advisable that we enter the property/site due to health and safety. Our delivery team have a lead time and commitment to other deliveries.

We aim to deliver to you like this, this allows more play, bend, manipulation of the product.

Our aim is to actively reduce waste, minimal packaging allows the natural product to breath.

How to store

Products should be stored on a flat dry surface and cornice, if boxed together, do not store higher than a boxed pair. Alternatively, it can be stored upright at an angle against a wall.

It looks like the Cornice has been poorly stored, if stacked to high the Cornice will crack, this information on 'how the store' is provided on the delivery documents and we also ask our delivery team to verbally inform the recipient/s on ‘how to store’ upon delivery.

Due to the use natural materials in the manufacture of the Cornice if stored in a damp unventilated room the Hessian may/will attract Fungi, this is also noted on the ‘how to store’ info.

Installation

An electrician needs to remove the existing light fitting and they should leave the the cables visible as we will need to feed these through the drilled whole through the when we fit the ceiling rose, please also note that any support/hooks/noggin/additional timber support needed for your light fitting will also need to be done before we fix the ceiling rose. The electrician is then called back to install your light feature.

Yes we have our own skilled in-house team, please provide how many linear meters/rooms you require and the cornice/ceiling rose/panel mould product code and we can provide an estimate for you

Email: salescornicestore@gmail.com

Installation guidance

We provide a match to exist service, please email a photograph or the cornice, damaged area and how many linear meters you require and we can provide an estimate

Email:salescornicestore@gmail.com

You can choose a cornice with a height that will fit between the window and the ceiling.

OR

The height issue with the windows is quite common and the Cornice is often cut around the window Architrave/box sash so not to dictate the scale of the Cornice and will also look better if the cornice is allowed to flow around the room.

We install/fix the cornice when wet (still drying) your cornice would have been delivered to you like this, this allows more play, bend, manipulation of the cornice as it is common in most houses that walls are not straight.

We no longer offer the service of paint removal from existing Cornices due to damage issues to Cornice's as a result of using both of the ‘Chemical Peel-away’ products on the market and would advise NOT to use them on Plaster Cornices.

The Curtain pocket is best formed in timber (by a carpenter in-advance of the Cornice installation)Looks best @ the same height as the Cornice type being used

CUTTING MITRES

Unlike ‘Coving’ Cornices vary in size so a standard Mitre box cannot be used to form the 45-degree mitres, you can make your own

mitres box to suit the Cornices size or by cutting the Cornice as below:

CUTTING BENCH:

Set-up a cutting bench on a flat surface and fix a series of uprights to the bench at 90-degrees to support the ‘WALL’ part of the

Cornice with the ‘CEILING’ part of the Cornice on the bench face up.

DIRECTIONS:

Sit the Cornice to its correct ‘wall /’ceiling’ position as it will be fixed but ‘upside down’, measure the Cornices ceiling projection.

‘forward’ or ‘backwards’ and cut with a hand saw to form the required ‘internal’ or ‘external’ mitre.

INSTALLATION

We install using a combination of both Adhesive and screws.

ADHESIVE

TYPE: We sell adhesive, but any ‘plasterboard’ or ‘cove’ adhesive will work just as well.

DIRECTIONS: Dab adhesive every 400mm to the top and bottom edges of the Cornice and use between mitres & joints to eliminate cracking, damaging the Cornice.

Care is taken to not let Adhesive set on the face of the Cornice as it’s harder than the Cornice so will be hard to remove.

SCREWS

TYPE: 32mm-48mm zinc plated drywall screw (do not use “Black’ painted screws which will rust through)

DIRECTIONS: Countersink the Cornice and fix through the timber laths located along the top & bottom front edges of

the Cornice every 500mm in alternating 45-degree angles, so to lock into background.

Screws fixings may not be required on smaller Cornices.

MAKING GOOD

We recommend using a ‘Lightweight’ filler for filling the holes made for the ‘Screw’ fixings as it’s easy use & sand.

PAINT

Treat as you would ’normal’ plaster:

2 x coats of watered down emulsion (60% paint / 40% water)

2 x coat of emulsion

2 x final colour

General Questions

We are open Mon-Fri 7am-3pm

All our products are made to order we do not have a showroom however you’re more than welcome to visit the workshop where we have some of our range made ready for shipping and some samples of our cornices.